OneManVJ — Mac / Win Auto VJ Software with Audio Fingerprint Recognition
A downloadable software for Windows and macOS
OneManVJ
## Play the music. The visuals take care of themselves.
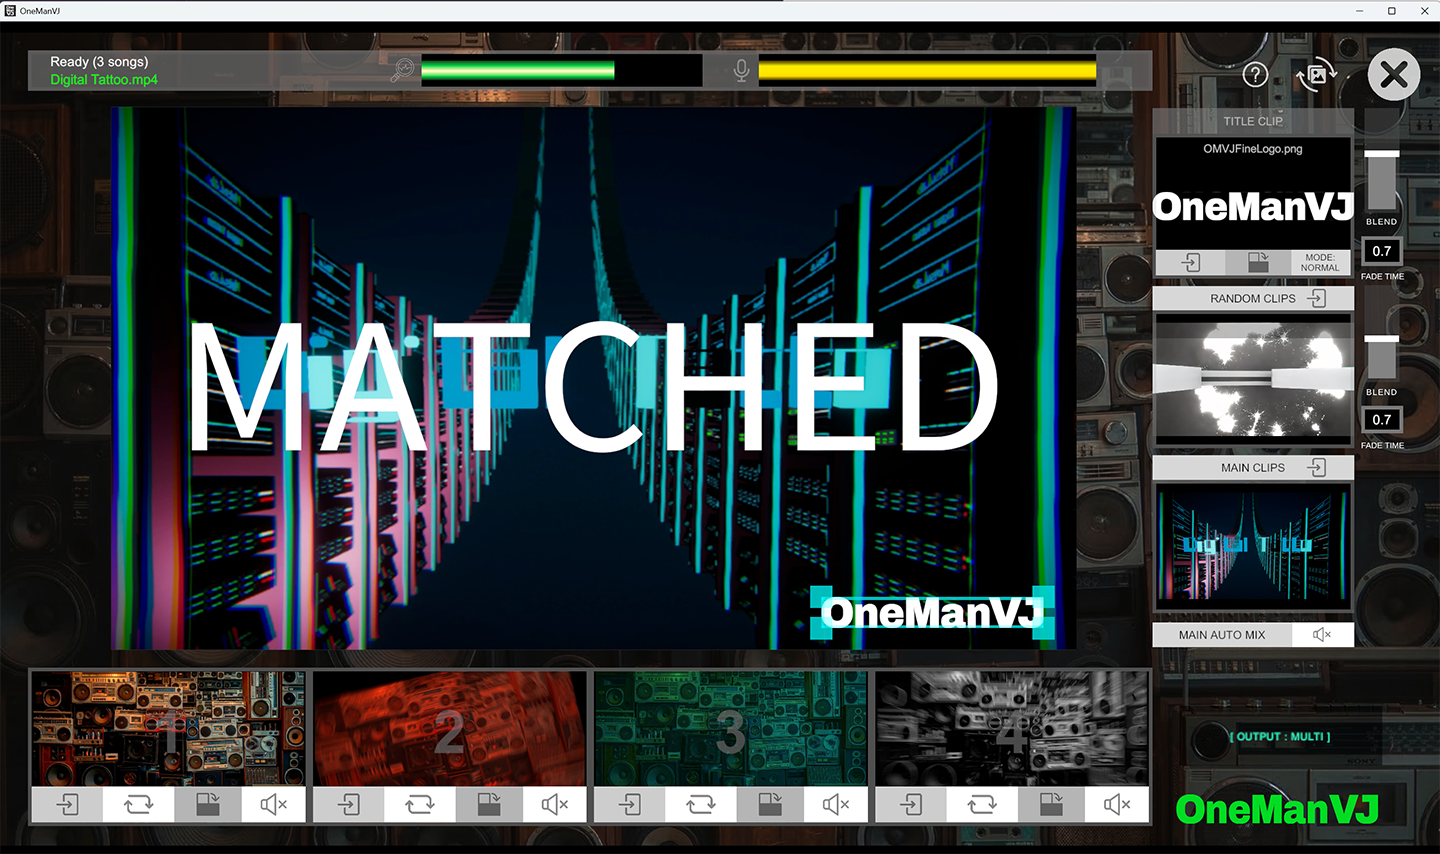
OneManVJ is an auto VJ software that listens to the music
playing around it, identifies the song through audio fingerprint
recognition, and automatically plays the matching video — synced
to the exact position in the track.
No dedicated VJ needed. No manual switching.
Just drop in your videos, play a song, and let OneManVJ handle it.
Clubs, bars, house parties, live streams, ambient installations —
if there's a speaker and a screen, you're good to go.
**Available for Windows & macOS.**
---
🎁 Beta Version
This download is the free Beta version.
All Pro features are fully unlocked until May 8, 2026.
- Song library: Unlimited
- Watermark: None
- All features: Fully unlocked
*After the deadline, it automatically reverts to the Free edition (5-song fingerprint limit).*
*Pro ($49, one-time purchase / permanent license) will be available after launch.*
---
🎯 Who it's for
- **DJs** who want live visuals without hiring a VJ
- **Bar & café owners** looking for music-reactive ambient video
- **Event organizers** running the show solo
- **Streamers** stepping up their visual production
- **VJs** who want an intelligent auto-pilot as backup
---
⚡ Features
🎵 Automatic Song Recognition (Audio Fingerprinting)
Listens through your PC's microphone, identifies the track via audio
fingerprint matching, and fires up the matching video — synced to the
exact playback position. Think of it as Shazam, but for visuals.
🎵 Automatic Tempo Tracking
Tracks playing at ±10% BPM are still recognized accurately.
(e.g. a 120 BPM track played back at 132 BPM)
🎬 Dual-Deck Crossfade
DJ-style A/B deck system for smooth video transitions.
No hard cuts, no black frames — just clean, professional mixing.
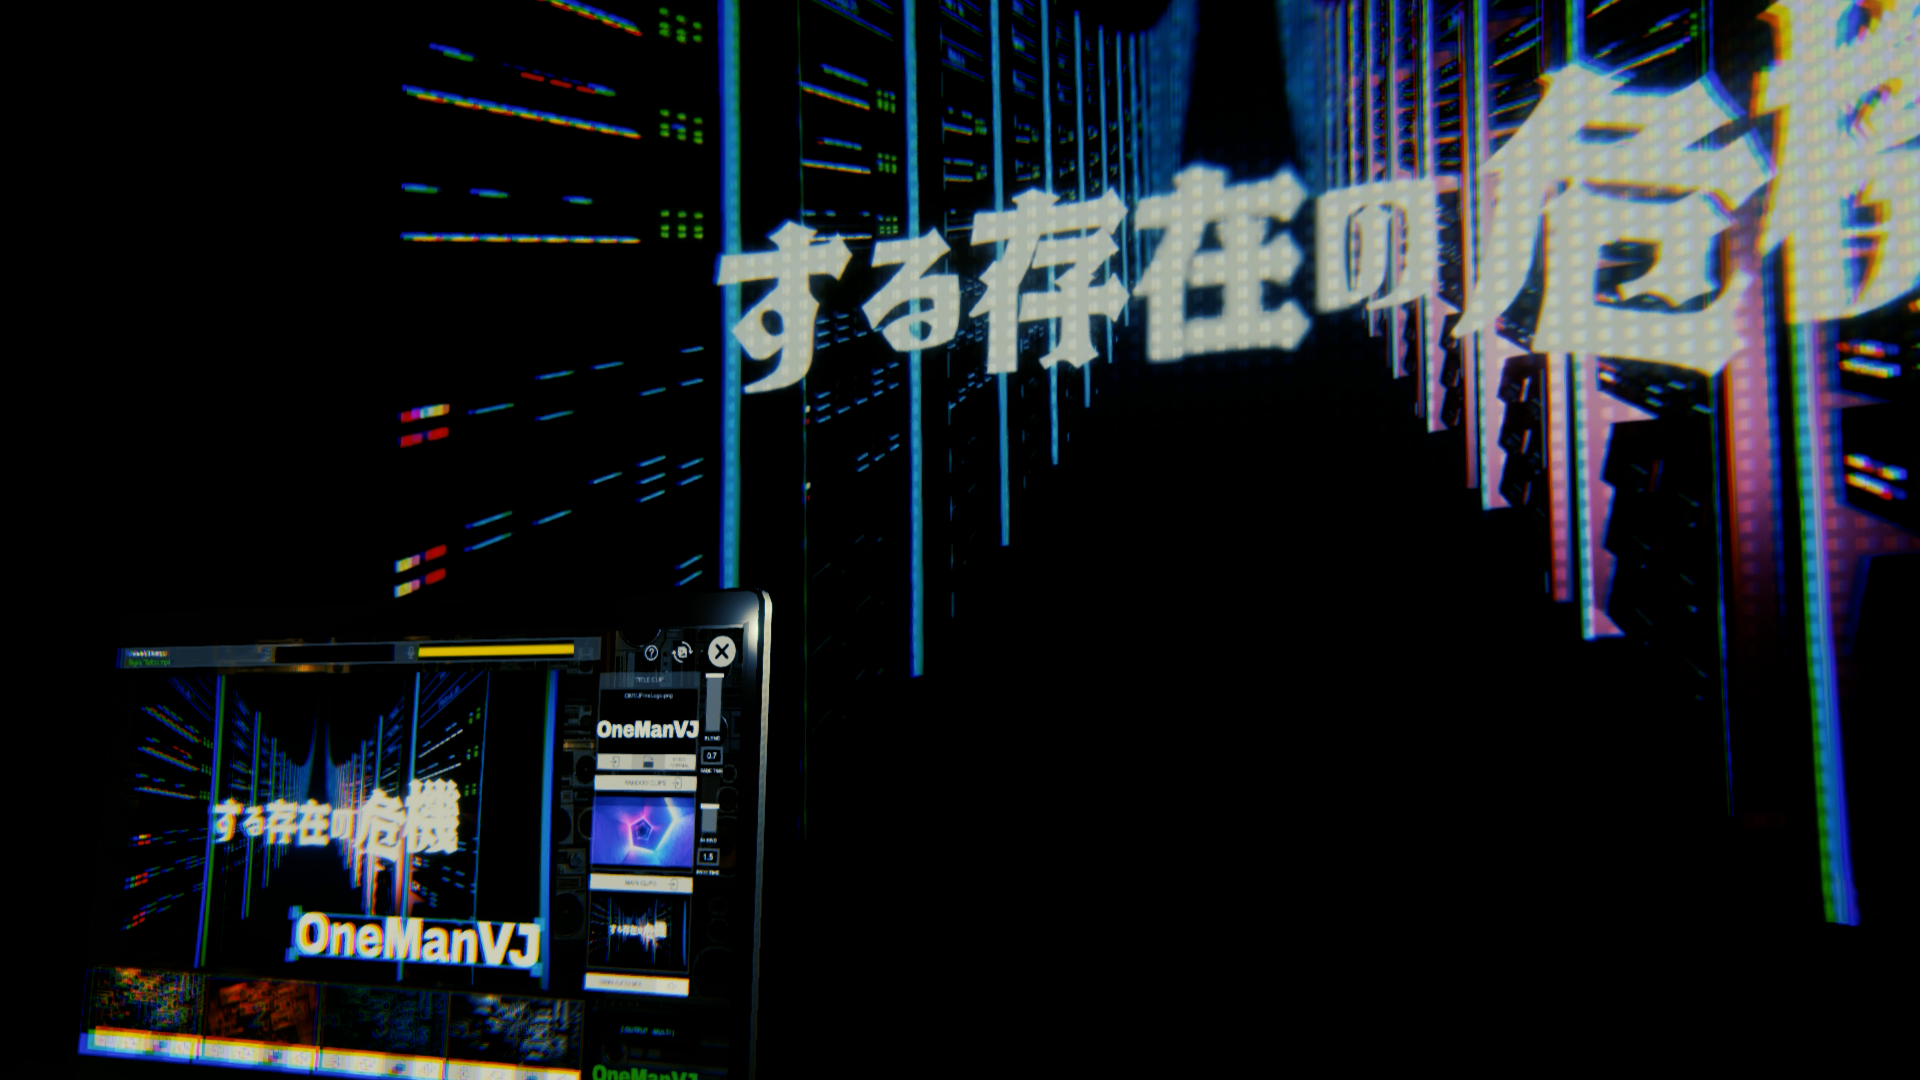
🌀 Glitch Mode
When the music stops or the DJ is between tracks, the screen doesn't
go dark. Random glitch visuals loop automatically with an adjustable
intensity slider — from subtle to full chaos.
🔄 Auto Mix
Randomly cycles through your video library with customizable duration
and crossfade timing. Set it up and let it run — perfect for ambient
setups or background visuals.
🖥️ Multi-Monitor Auto-Detection
Plug in a projector or second monitor and it's detected automatically.
Instant output, zero configuration. Single monitor? One click for
fullscreen.
🎹 Quick Slots × 4
Four instant-trigger pads for logos, bumpers, or hype clips.
Load them up, fire them off.
🎨 Title Overlay
Drop a title image into TitleFiles and have it overlaid on your
output — perfect for branding, event logos, or venue names.
### 🎤 Audio Input Selection
Choose your microphone or audio interface directly from the app.
No need to change your system-wide audio settings.
📂 Drag & Drop Import
Throw your video files into the window. Audio extraction,
fingerprinting, and indexing happen automatically.
Supports MP4, MOV, and WebM.
📁 Custom Content Folder
Move your video library to an external drive or a different location.
One-click folder change with automatic restart — your library goes
wherever you go.
🔇 Fully Offline
No internet connection required. No account. No cloud.
Everything runs locally on your machine.
---
💻 System Requirements
Windows
**Minimum:**
- OS: Windows 10/11 (64-bit)
- CPU: Intel i5 or equivalent
- RAM: 8 GB
- GPU: DirectX 11 compatible
- Storage: 500 MB + video files
- Audio: Built-in mic or audio interface
**Recommended:**
- CPU: Intel i7 or equivalent
- RAM: 16 GB
- Storage: SSD
macOS
**Minimum:**
- OS: macOS 12 Monterey or later
- CPU: Apple M1 or Intel i5
- RAM: 8 GB
- GPU: Metal compatible
- Storage: 500 MB + video files
- Audio: Built-in mic or audio interface
**Recommended:**
- CPU: Apple M2+ or Intel i7
- RAM: 16 GB
- Storage: SSD
**Supported formats:** MP4 (H.264), MOV, WebM
FFmpeg is bundled — no extra installs needed.
---
📦 What's included
Windows
- OneManVJ installer (.exe)
- UserFolders/
- MainVideos — 3 sample videos included
- RandomVideos — 8 glitch visuals included
- PadFiles — 4 quick slot clips included
- TitleFiles — 1 title overlay included
- DJAudioFiles — audio cache (auto-generated)
- AudioCache — fingerprint data (auto-generated)
macOS
- OneManVJ application (.app)
- UserFolders/ — set up on first launch
- MainVideos — 3 sample videos included
- RandomVideos — 8 glitch visuals included
- PadFiles — 4 quick slot clips included
- TitleFiles — 1 title overlay included
- DJAudioFiles — audio cache (auto-generated)
- AudioCache — fingerprint data (auto-generated)
---
🚀 Getting started
1. **Install** — Run the installer (Windows) or drag to Applications (macOS)
2. **Launch** OneManVJ
3. **Drag & drop** your video files into the window
4. **Wait** for the fingerprint processing to finish
5. **Play music** on any speaker
6. The matching video starts **automatically**
That's it. You're VJing.
---
⚠️ First Launch Notes
Windows
You may see a **Windows SmartScreen** warning on first launch.
This is normal for unsigned software.
Click **"More info"** → **"Run anyway"** to proceed.
macOS
On first launch, right-click the app and select **"Open"**, then click
**"Open"** in the dialog. After that, it launches normally.
---
❓ FAQ
**Does it work with Spotify / Apple Music / YouTube?**
Yes — it listens through your microphone, so the audio source doesn't
matter. You just need to import the corresponding video files beforehand
so the system knows what to play.
**How do I connect DJ gear?**
Route your mixer's REC OUT or Master OUT to your PC's audio input
(LINE IN or audio interface). That gives the cleanest signal.
Room microphone works fine too.
**What happens when the Beta expires?**
It automatically reverts to the Free edition (5-song fingerprint limit).
Your data and settings are preserved.
Purchase Pro ($49) to unlock unlimited again.
**Can I move my video library to an external drive?**
Yes. Use the FOLDER button in the app to select a new UserFolders
location. The app restarts automatically and loads from the new path.
**Can I use it with OBS for streaming?**
Absolutely. Capture the output window with OBS Window Capture and
you're set.
**Do I need to be online?**
No. OneManVJ runs fully offline after download. No account required.
**Which platform should I choose?**
Both versions have identical features. Choose whichever matches your
setup. If you're performing live, go with the machine you trust most.
---
📜 License
- Personal and commercial use: ✅
- Resale or redistribution of the software: ❌
- Reverse engineering: ❌
- Video content copyright: your responsibility
---
🌐 deejei.tokyo
𝕏 @Motsu_MC
Made by MOTSU / DeeJei.Tokyo
Download
Install instructions
🚀 Download & Setup
Windows:
- Download and extract the ZIP
- Run OneManVJ_Beta_Installer.exe
- Follow the installer — you can choose any install location (internal drive, external SSD, USB drive, etc.)
- Launch OneManVJ from the Start Menu or Desktop shortcut
This app can be installed and launched from an external SSD or USB drive — great for portable setups at venues.
⚠️ You may see a Windows SmartScreen warning on first launch. This is normal for new software without a code signing certificate. Click "More info" → "Run anyway" to proceed.
macOS:
- Download the ZIP file
- Extract and open the OneManVJ folder
- Drag OneManVJ.app to your Applications folder (or any location you prefer)
- On first launch, right-click the app → select "Open" → click "Open" in the dialog
- After that, it launches normally with a double-click
You can also run it directly from an external drive — just place the .app and UserFolders together in the same folder.
⚠️ macOS Gatekeeper may block the first launch because the app is distributed outside the App Store. The right-click → "Open" method bypasses this. You only need to do this once.